

Growing your own microgreens is becoming increasingly popular as people look for ways to cultivate their own fresh and healthy produce. So now your next thought is probably, how to make a microgreen kit? And glad you asked! Making a DIY microgreen kit is an easy way to get started with growing your own microgreens at home.
With just a few supplies and some basic instructions, you can create your very own microgreen grow mat that will provide you with tasty greens year-round! In this guide, you’ll learn how to make a microgreen kit in 10 easy steps so that you can start harvesting delicious homegrown veggies right away.
How To Make a Microgreen Kit Quick Guide
Making a microgreen kit at home is a fun and easy way to grow your own edible greens. Here are the steps to get started:
- Gather Materials
- Secure a Location
- Prepare Growing Trays
- Prepare and Sow Seeds
- Press Seeds into Soil
- Make the Grow Mat
- Fill the Container with Soil-less Mix
- Cover and Wait
- Water as Needed
- Harvest and Enjoy
How To Make a Microgreen Kit Steps
Step 1: Gather Materials
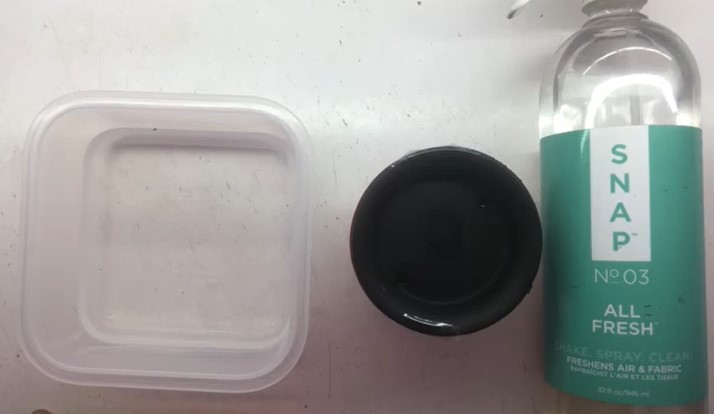
To make your own microgreen kit, you will need a container such as a large plastic tray or even an unused aquarium, some soil-less potting mix, a large sheet of plastic wrap, and some scissors. You can also buy a microgreen kit from your local garden store or online if you would prefer.
Step 2: Secure Location
Prepare the area for growing microgreens by clearing it and taking measures to protect the surface from any misting overspray or drainage overflow.
Step 3: Prepare Growing Trays
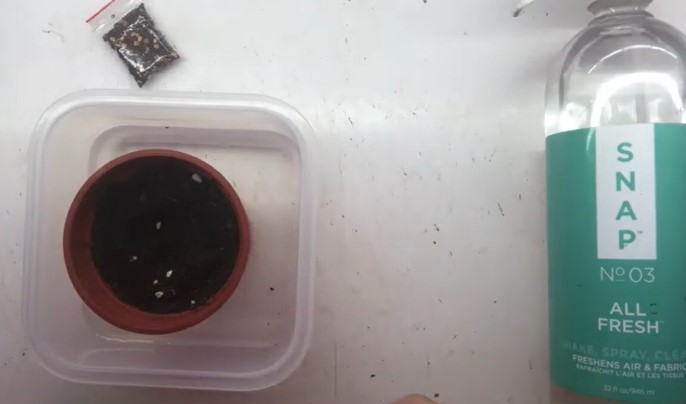
To reuse a container, ensure that it is disinfected and completely dry. Put an inch or slightly more of moist (not wet) growing medium in trays and level the soil by using a piece of cardboard to drag or press it across the surface.
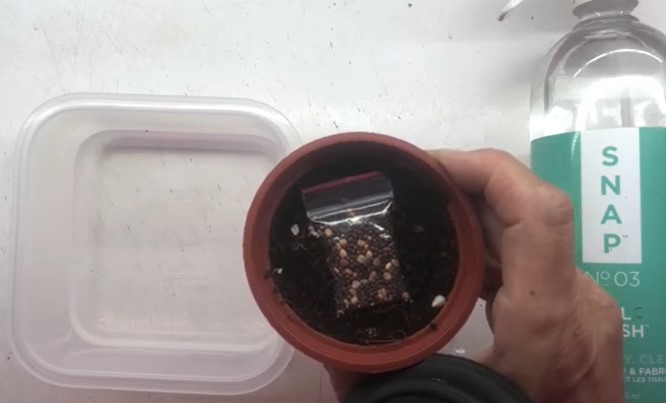
Step 4: Prepare and Sow Seeds
For larger seeds or those with a hard shell, it’s best to soak them for a few hours or overnight before planting. Once you’re ready to plant, spread the seeds uniformly across the soil and sprinkle a bit of soil or growing medium on top.
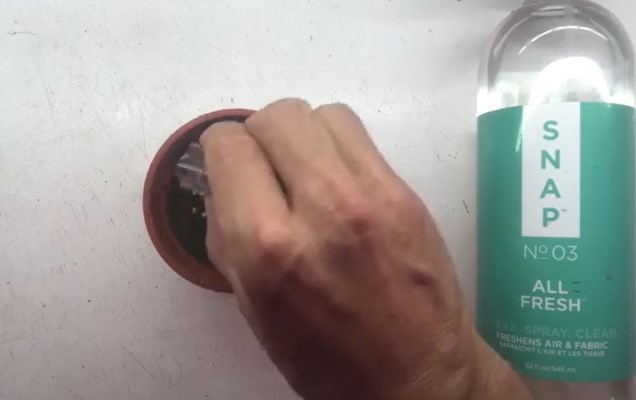
Step 5: Press Seeds into Soil
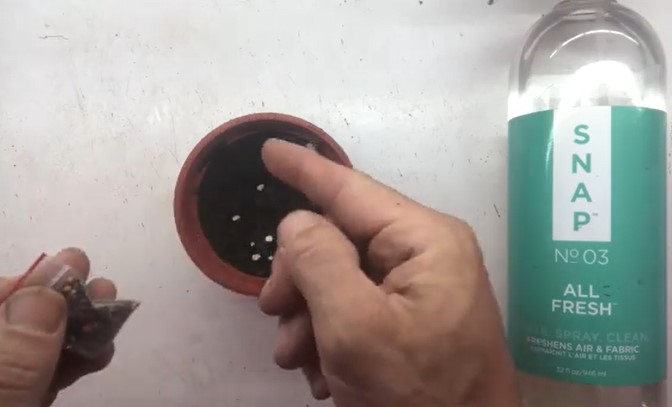
To help seeds absorb more moisture and grow better, it’s helpful to press them into the soil so they make good contact. When using same-sized trays, stacking them can apply even pressure across the whole soil surface.
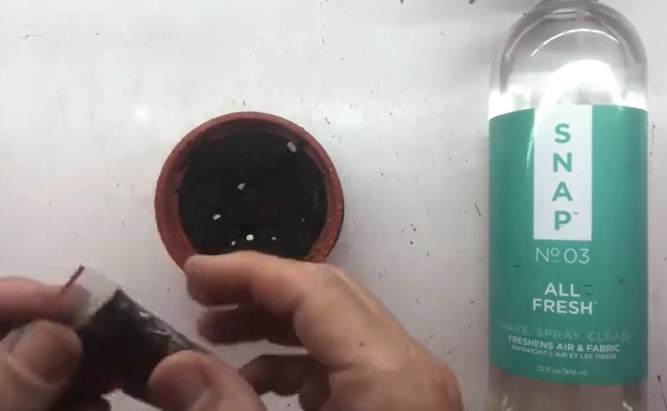
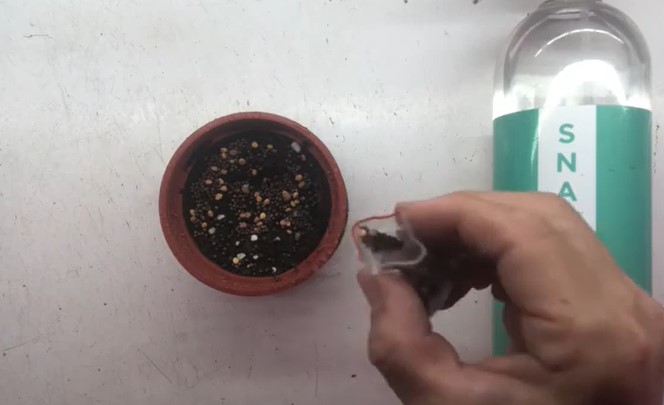
Step 6: Make the Grow Mat
Cut the plastic wrap into strips and then weave them together to create a circular mat that will fit inside the container. The size of the mat should be slightly smaller than the container.
Step 7: Fill the Container with Soil-less Mix
Once the grow mat is in place, fill the container with soil-less potting mix until it reaches about two-thirds of the way up. Make sure to press down on the mix with your hand or a flat object to pack it firmly into place.
Step 8: Cover and Wait
If you have trays with moisture domes, cover them now. If your trays are stackable, you can stack them to create a similar effect. Keep in mind that some seeds need moisture but not light to germinate.
Therefore, stacking trays won’t be an issue. In the beginning, some growers prefer to cover trays with plastic bags or plastic wrap to aid in germination.
Step 9: Water as Needed
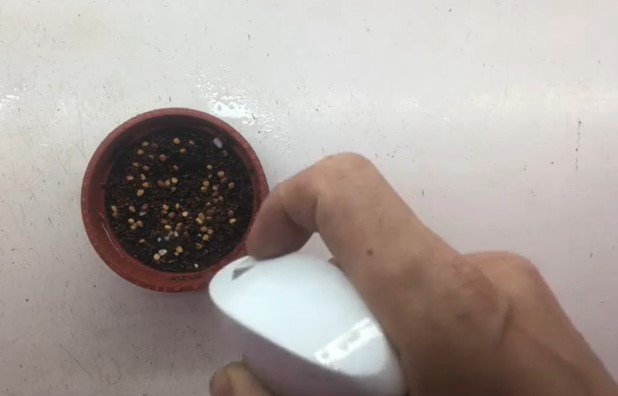
To keep the seeds moist, but not wet, until they germinate, it is recommended to mist trays that are uncovered or on a sunny windowsill at least once a day using a spray bottle. After sprouting, it is suggested to spray once or twice a day.
Step 10: Harvest and Enjoy
Once the microgreens have grown a few inches and sprouted true leaves, it’s time to harvest them. Simply use sharp scissors to snip the stems just above the soil line. If you need to rinse them, be sure to gently dry them using a salad spinner or by placing them on a paper towel.
How To Make a Microgreen Kit Additional Tips
- Fungus is a major issue among microgreen growers. Overwatering the growing surface can promote mold growth, ultimately leading to crop damage. Thus, many growers opt for bottom watering, which involves using a growing tray with drainage holes and allowing water to seep up from a solid tray below that is filled with water.
- To extend the shelf life of microgreens, it’s best to harvest only what you need. You should cut the microgreens high enough above the soil line that you won’t need to rinse them. Producing your own microgreens at home eliminates the need to worry about harmful chemicals or fertilizers being used on your food.
- To store microgreens after harvesting, place the stems’ cut ends in a shallow container of water, and refrigerate them. This will help them last for up to a week, similar to storing cut flowers.
Common Questions About How To Make a Microgreen Kit
What are microgreens?
Are you familiar with microgreens? They are a more refined version of sprouts. Unlike sprouts, which are eaten roots and all and grown without a growing medium, microgreens are grown in a medium and trimmed at the base before consumption.
Do microgreens regrow after cutting?
In most cases, microgreens do not regrow after being cut. This is because the energy from the seed is used up in producing the first set of leaves, leaving no energy for regrowth.
Do microgreens need fans?
To grow healthy microgreens, it is important to have good airflow. Insufficient airflow can cause problems like mold, pests, and root issues. If you have a greenhouse or grow room, using both natural airflow and fans can help maintain the ideal growing conditions.
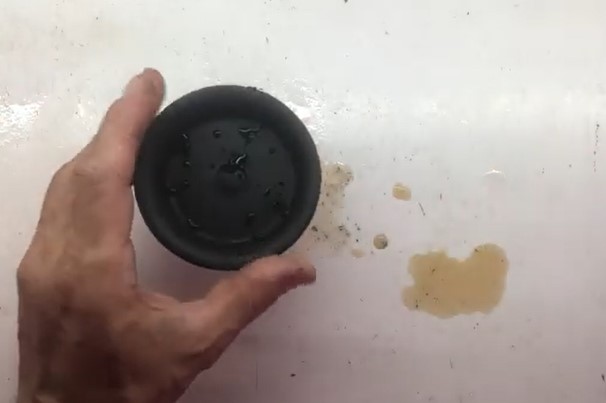
Do microgreen trays need holes?
Yes, I would like to know how to grow microgreens. For optimal growth, it’s important to use a tray with holes and a bottom tray.
You can use one of our shallow microgreen trays without holes or a flood tray like the ones in our Automated Grow Rack system for hydroponic growing. Having too much water in your microgreen trays can cause mold to develop.
Video How to Seed Your Microgreens
Making your own microgreen kit is a great way to get started growing fresh, nutrient-rich greens in the comfort of your home. In this video, you’ll get to know how to make a DIY microgreen grow mat and provide tips for assembling your own microgreen diy kit. Watch now and learn how to easily grow nutritious greens at home!
Final Thoughts
Learning how to make a microgreen kit is a great way to grow nutritious and delicious greens at home. With the right materials, you can easily make your own DIY microgreen grow mat and get started growing these nutrient-packed plants in no time.
Having access to freshly grown microgreens will give you an easy and enjoyable way to incorporate more healthy foods into your diet. Whether for yourself or as a gift, making this kit from scratch is sure to be rewarding!
So take some time today to gather up all of the necessary supplies, follow our instructions carefully, and enjoy the benefits of fresh homegrown microgreens soon!